Listed here underneath you can find a bunch of professional guidance on the subject of How to Fix a Leaky Faucet.
Introduction
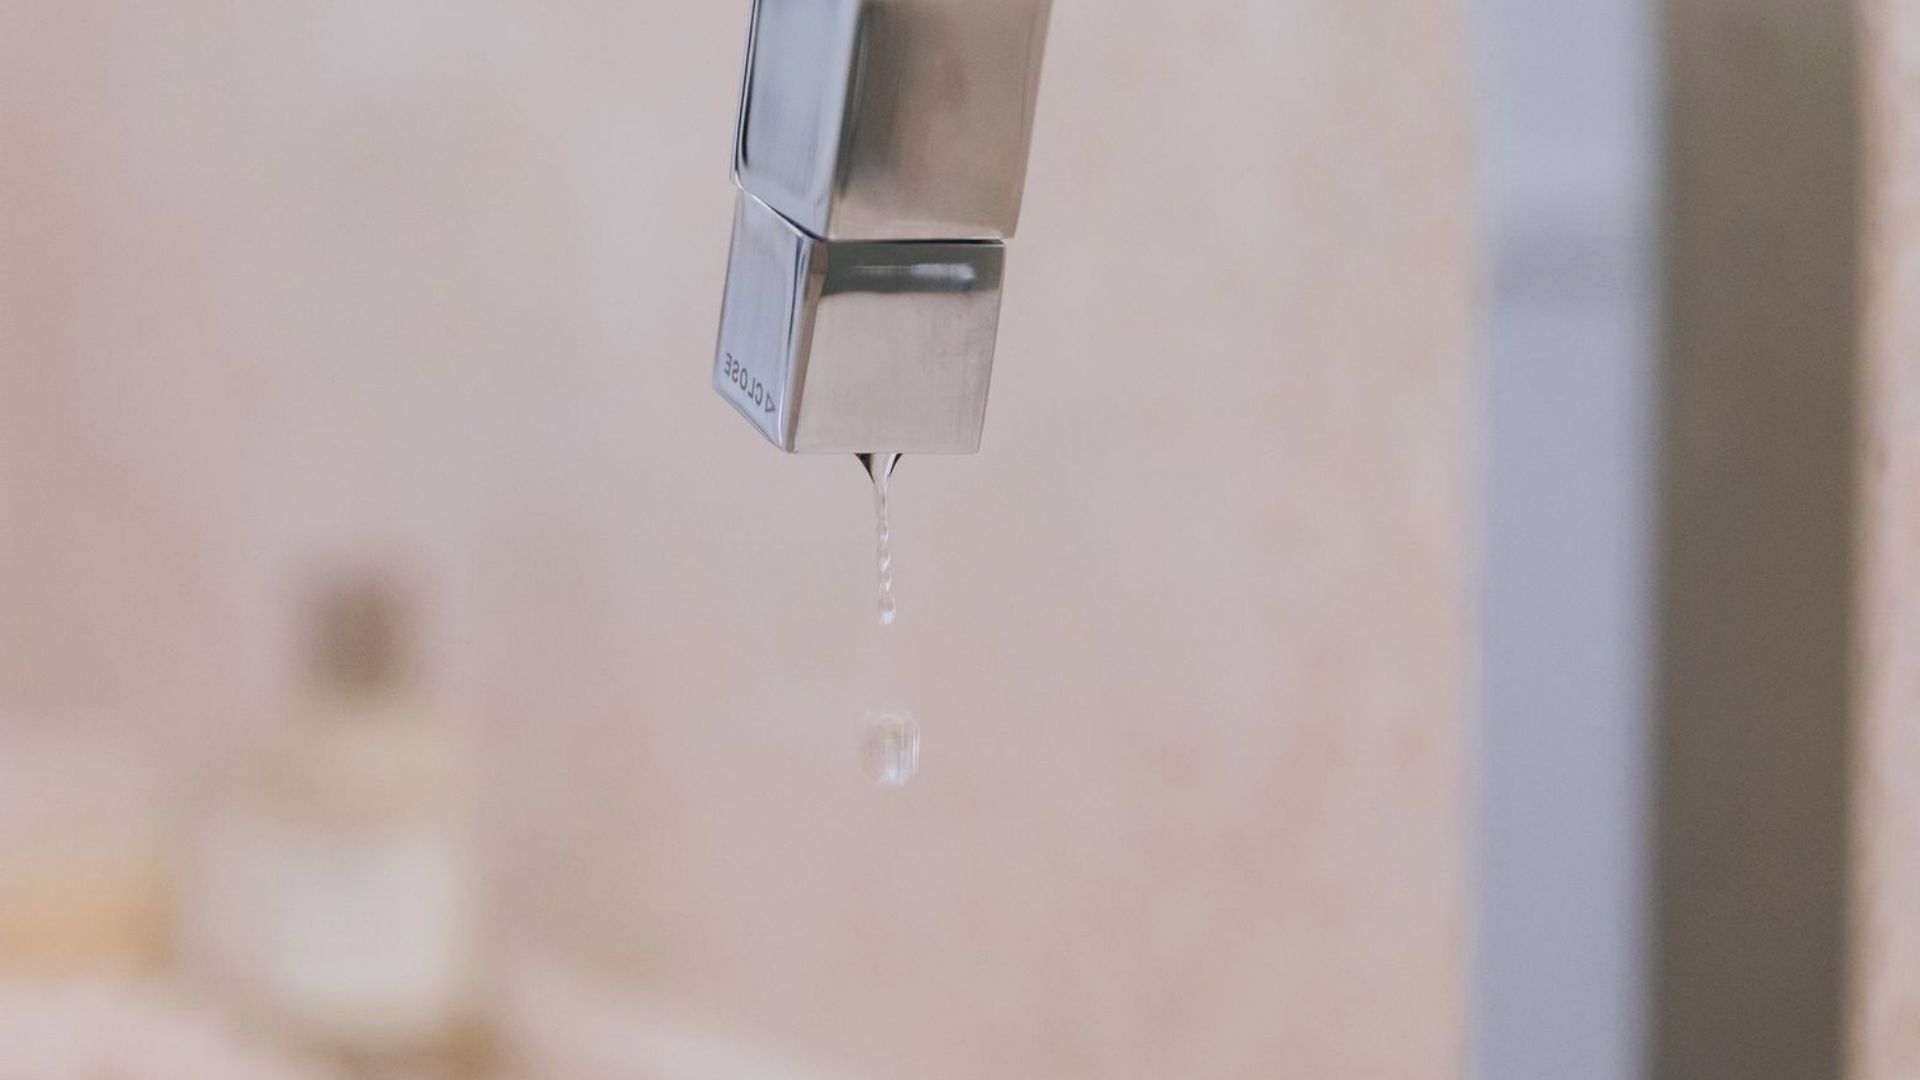
A leaky tap is not only aggravating but can also squander a considerable quantity of water and result in increased utility expenses. In this step-by-step guide, we'll stroll you via the procedure of dealing with a dripping tap, permitting you to save water and cash while maintaining your plumbing system.
Evaluating for Damages
When you've exposed the shutoff assembly, evaluate it for any type of indicators of damage or wear. Typical culprits of a leaky tap include damaged washers, O-rings, or seals.
Replacing Faulty Components
If you recognize any damaged or worn-out elements, meticulously eliminate them utilizing a wrench or pliers and replace them with new ones. Be sure to use the proper size and kind of replacement parts for your tap.
Reassembling the Tap
After replacing the malfunctioning elements, carefully reassemble the tap in the reverse order of disassembly. Make sure that all parts are appropriately lined up and tightened up to avoid future leaks.
Collecting Tools and Products
Before you begin, collect the needed devices and products for the repair work. You'll generally require an adjustable wrench, screwdrivers, substitute washers or seals, plumber's tape, and a rag or towel to tidy up any kind of spills.
Turning Off Water Supply
Find the shut-off valve for the affected faucet and transform it clockwise to shut down the water supply. If you're not able to situate the shut-off valve, you may need to shut down the major water to your home.
Dismantling the Faucet
Use a screwdriver to get rid of the manage of the tap, revealing the interior components. Depending upon the kind of faucet, you may require to unscrew a cap or collar to access the valve setting up.
Making Sure Appropriate Performance
After verifying that the faucet is leak-free, test its performance by turning it on and off several times. Guarantee that the faucet runs smoothly and without any unusual audios or resistance.
Cleaning Up
Lastly, tidy up any debris or spills from the repair service procedure and take care of any kind of old or broken components properly. Leaving the work area clean and tidy guarantees a professional coating to your repair work.
Examining for Leaks
As soon as the faucet is rebuilded, transform the water supply back on and examine the tap for leaks. If you discover any kind of leakages, confirm the links and tighten them as required.
Final thought
Taking care of a dripping faucet is a relatively simple do it yourself job that can save you cash on water expenses and avoid more damage to your plumbing system. By following this detailed guide, you can take on the repair work with self-confidence and appreciate the benefits of a leak-free faucet.
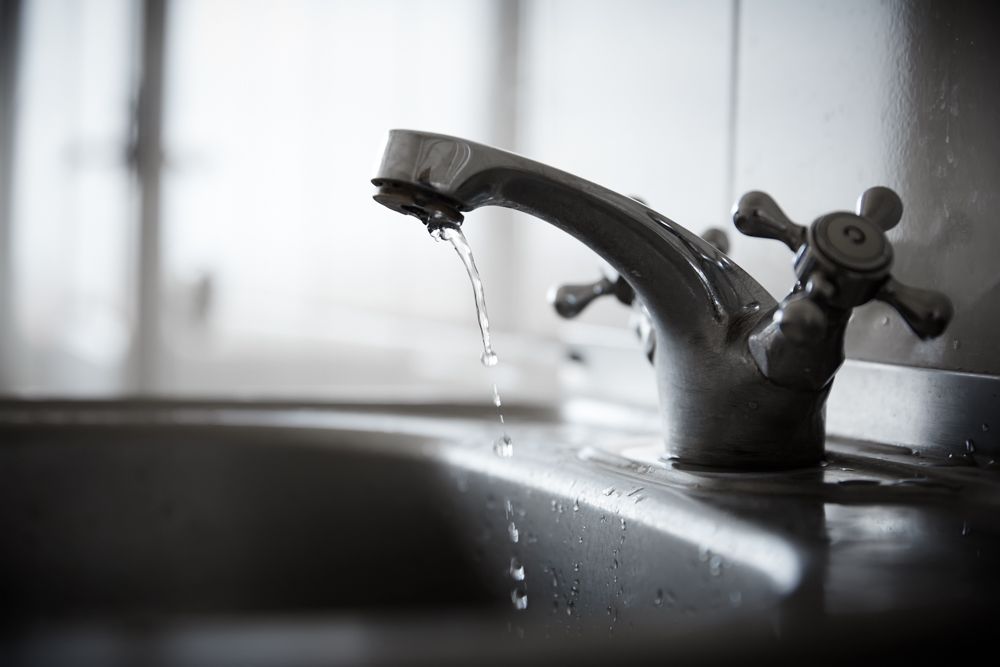
HOW TO FIX A LEAKY TAP IN 5 EASY STEPS
CUTTING OFF THE WATER SUPPLY TO THE TAP
Before replacing your dripping faucet, you may want to start by shutting off the water supply to the fixture. After all, you can’t exactly work on the tap if it constantly sprays water everywhere.
To do so, look for a knob underneath the sink and turn it clockwise. After this, turn the faucet on to let out any water remaining in the water supply line.
If the water doesn’t shut off even after turning the knobs, you can shut off the entire house’s water supply.
WHAT YOU’LL NEED TO FIX A LEAKY COMPRESSION FAUCET
Flat head screwdriver Toothless Plumbing wrench Towel O-ring Hex wrench Faucet washer 5 STEPS TO FIX A LEAKY COMPRESSION TAP
Rubber washers are used in compression faucets to tighten the valve seat. Think of it as a mechanism similar to a plastic bottle cap.
These faucets often leak when the rubber washer is sufficiently worn down. So, when you turn off a dripping faucet, it never cuts off the water supply entirely. This means that the problem lies with the washer itself, and replacing it would fix the water leakage.
TAKE OFF THE CAP FROM FAUCET HANDLES
First, you will have to remove the cap present on top of each faucet handle to access the inner working parts of the faucet. Lift the decorative cap using a flathead screwdriver, underneath which you will find a screw head.
Place the decorative cap close by and proceed to the next step.
REMOVE THE TAP HANDLES
Next, depending on the screw type, you can use a flathead or a hex screwdriver to loosen the exposed screw head. Doing so will loosen the faucet handles, allowing you to remove the handles entirely.
If the handles don’t loosen, penetrating oil may help you remove them relatively quickly.
REMOVE THE STEM AND ACCESS THE O-RING
Compression faucets usually have the valve stem and the nut that keeps them in place below the handles. You can use an ordinary wrench to remove the stem nut, pulling the stem out and accessing the O-ring.
Note that wrenches can easily damage the stem nut, so use a toothless wrench for the best results.
Once the stem is out, you will find the seat washer and the O-ring. This ring also keeps the faucet from leaking constantly; if it is worn out, you may need to replace it.
REPLACE THE SEAT WASHER
Seat washers are meant to compress when you turn the handles, which shuts off the water flow through the faucet. If your seat washers are worn out or damaged, you must replace them.
The seat washer may be affixed to the faucet by a screw, which you must unscrew before removing the ring. If it is an Allen screw holding the washer, use an Allen wrench to remove it.
Once the screw is out, remove the rubber seats and place a new one.
FAUCET REASSEMBLY AND TESTING
Now that the component responsible for the leaks has been taken care of, you can reassemble the faucet. Follow the disassembly guide detailed above in reverse for this.
Once reassembled, it’s time to test the fixed faucet. Open the shutoff valves under your sink (or the main water supply) and turn the tap on. If water flows through the faucet after letting some air out, consider it a job well done!
REMOVE THE FAUCET HANDLE
Disassembling a washerless faucet is similar to compression faucets. You may remove the handle using the process detailed above.
REMOVE THE INTERNAL COMPONENTS
Depending on the faucet type, you must follow a slightly different way of disassembling the faucet body.
You must remove the small circular piece to find the cartridge using needle-nose pliers for a cartridge-style faucet. This piece is known as a retaining clip, and you must not damage it.
As for a ball-type faucet, use a toothless wrench to remove the cap and collar. After this, remove the cam washer, faucet cam and ball to find the seal and springs underneath.
Lastly, a ceramic disk faucet requires removing the escutcheon cap to access the disk cylinder. Underneath this cylinder is a neoprene seal responsible for controlling the water flow.
EXAMINE THE PARTS AND REPLACE AS NECESSARY
At this point, you may have found the O-ring in a cartridge faucet. Take the cartridge from the tap and cut off the O-ring using a utility knife. After this, you can replace the ring with one coated in the plumber’s grease. If the damage is extensive, consider replacing the entire cartridge.
When dealing with a ball faucet, you can install new springs, cam washers and valve seats to fix the leak. Ensure that the replacement parts are compatible with your faucet type.
Lastly, replace the neoprene seals under the cylinder for ceramic disk-type faucets. Like with ball faucets, you should ensure the new parts are compatible with the tap. Consider replacing the entire cylinder if the damage to it is extensive enough.
REASSEMBLE AND TEST YOUR FAUCET
Now that all the fixes are made, carefully reassemble the faucet and turn the water supply back on. Test the faucet for any signs of leaks or faults; if there are none, you’re done with the task!
https://woolfplumbing.com.au/blog/how-to-fix-a-leaky-tap-in-5-easy-steps
I'm certainly very fascinated with How To Fix A Leaky Tap In 5 Easy Steps and I really hope you enjoyed the new blog entry. Sharing is caring. You won't know, you may be helping someone out. Thank you so much for your time spent reading it.
Additional Resources